The creativity in using Photoshop for photography tricks is unlimited. You can do any trick using various steps and different versions of Photoshop. I use Photoshop CS3, but keep in mind that you can use any version of Photoshop.
Like the previous post about selective color, now I would like to share you how to make a selective color image using the same software, Photoshop CS3, through a different set of steps.
Here are the 5 very simple steps to make a selective color effect on your image:
Like the previous post about selective color, now I would like to share you how to make a selective color image using the same software, Photoshop CS3, through a different set of steps.
Here are the 5 very simple steps to make a selective color effect on your image:
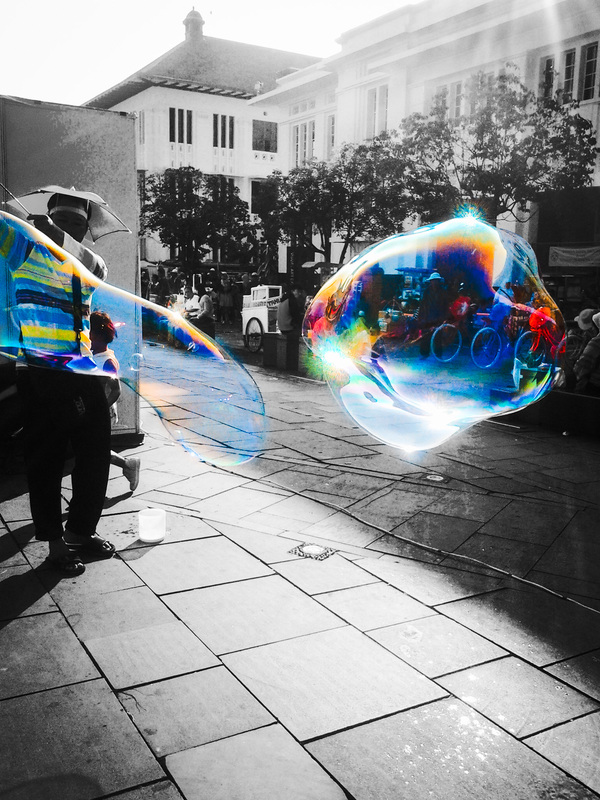
Photography Trick: Bubbles Make Life More Colorful
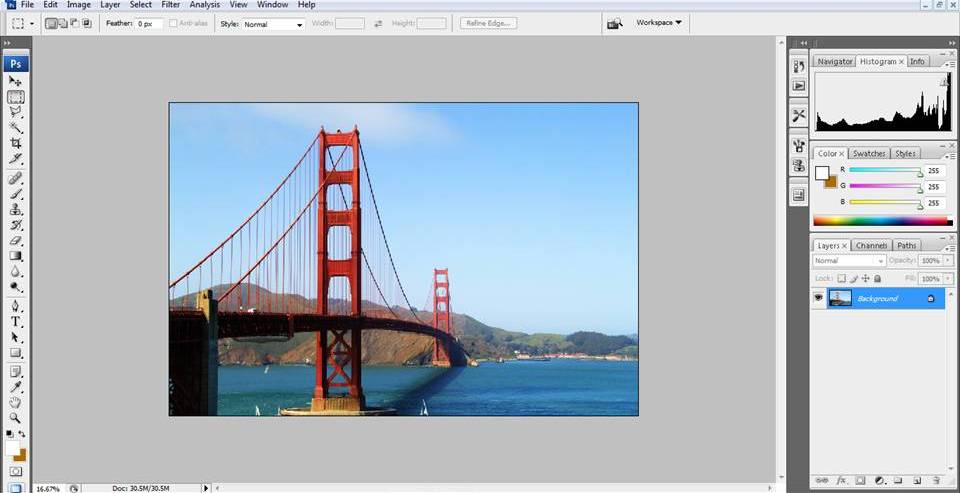
1. Open an image using Photoshop CS3

Photography Trick: Open an image using Photoshop CS3
2. Select Quick Selection Tool (W)

Photography Trick: Selec Quick Selection Tool (W)
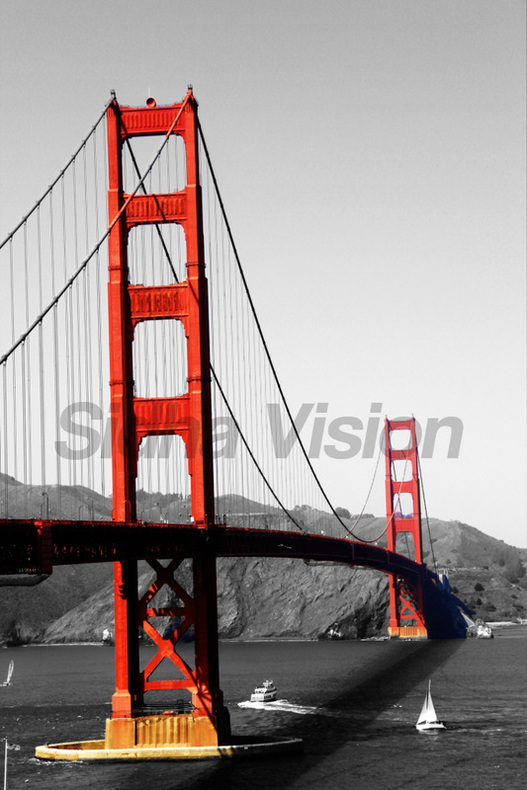
3. Select the parts which you want to keep the color. For me in this particular image, I would like the bubbles to be colorful.
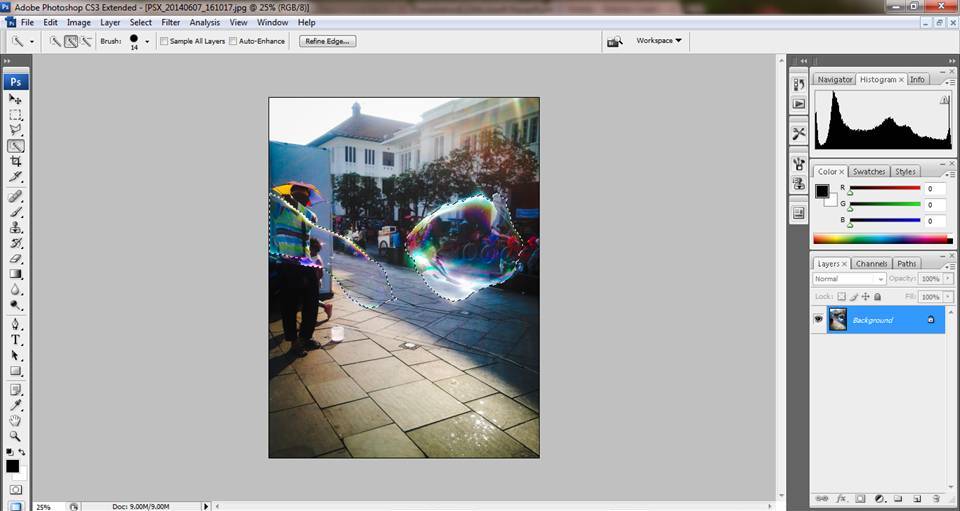
Photography Trick: Select the parts you want to keep colorful
4. Inverse select to select the parts you want to make black and white. right click > Inverse Select
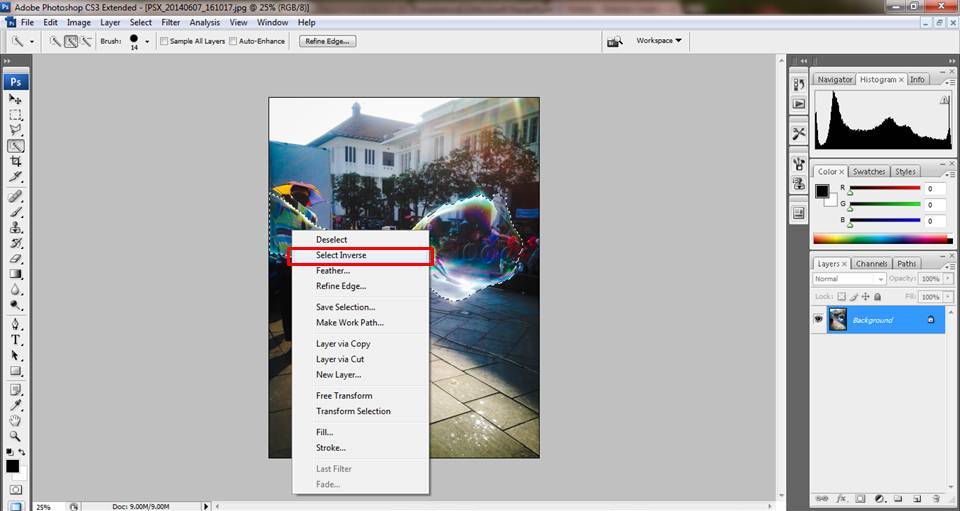
Photography Trick: Right Click > Inverse Select
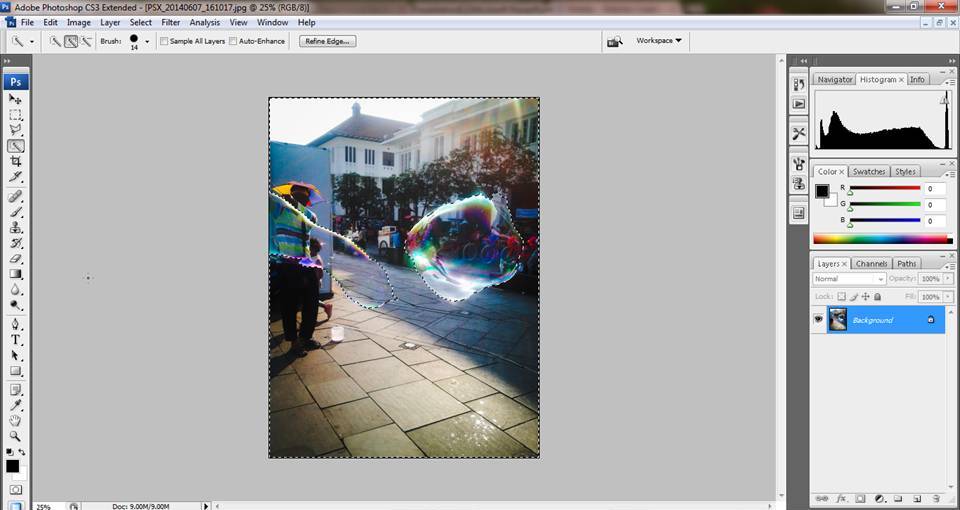
Now you have selected the parts you want to become black and white
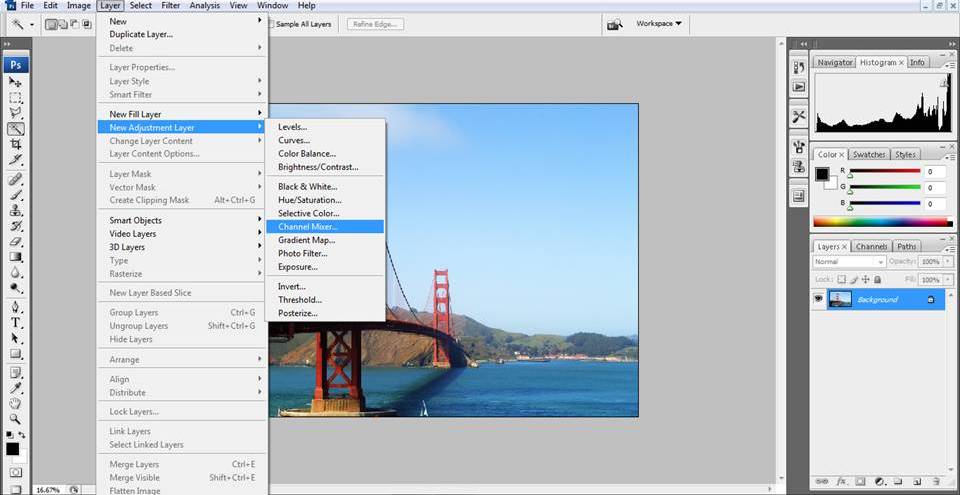
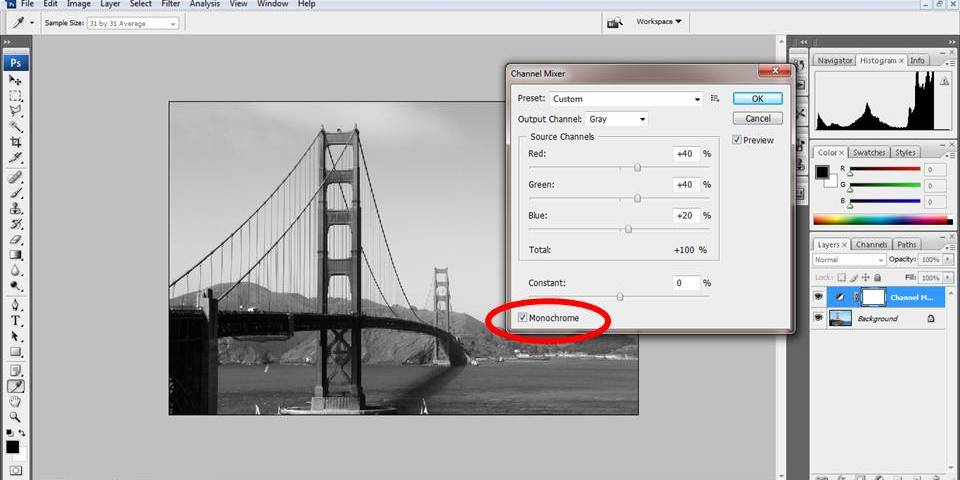
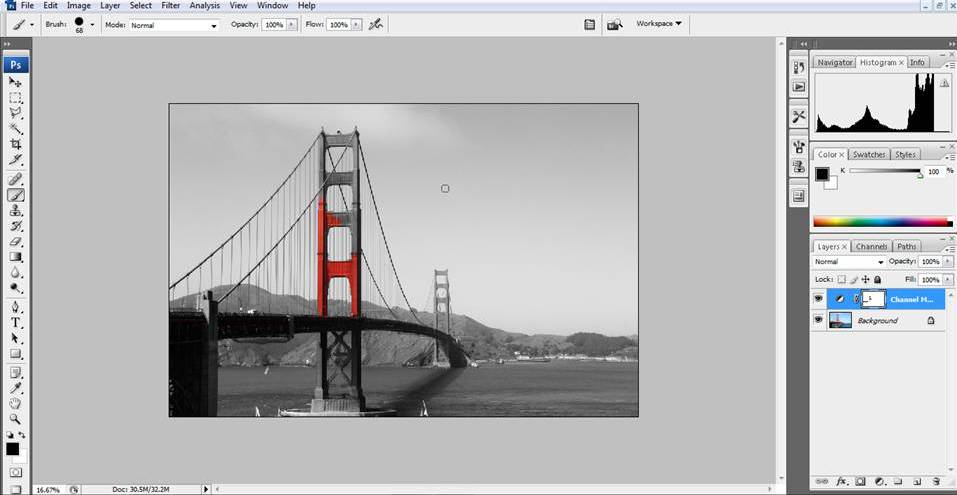
5. Layer > New Adjustment Layer > Black & White > OK
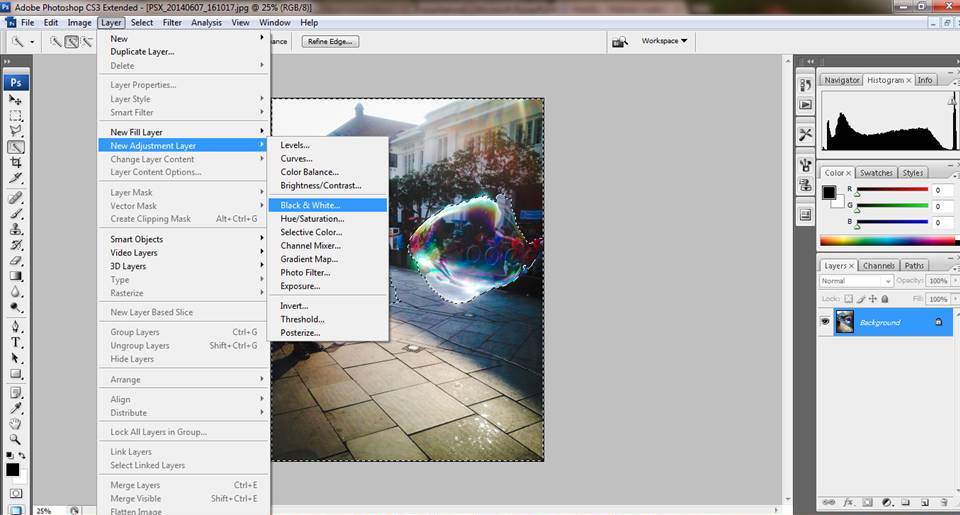
Photography Trick: Layer > New Adjustment Layer > Black & White > OK
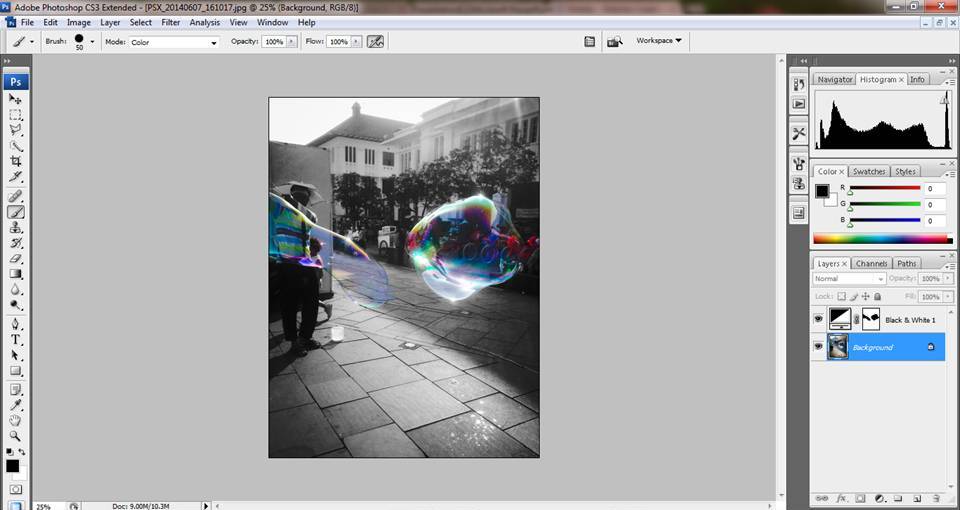
Photography Trick: This is how simple it is done
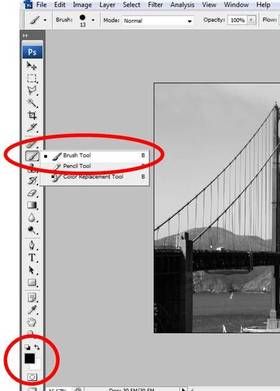
Now you have a selective color image. If you are not satisfied, or some parts of the image are not done correctly, you can apply a simple finishing touch using the Brush Tool (B).
I hope the steps are useful for you. Have fun trying! :)
See more photography trick here
- To add colored part, select the Black & White layer and brush the part you want to give color to.
- To make colored part black and white, select the Background layer and brush the part you want to make black and white.
I hope the steps are useful for you. Have fun trying! :)
See more photography trick here

 RSS Feed